

Workspace settings apply to your InsightGig workspace. Check the name beside the InsightGig logo before you change a setting or invite someone. If you work on your own, you can use the workspace without inviting anyone.
Find the workspace settings
In your workspace in the Console, go to Settings > General to review the workspace name. If you’re an admin, follow Update workspace settings to change the name.
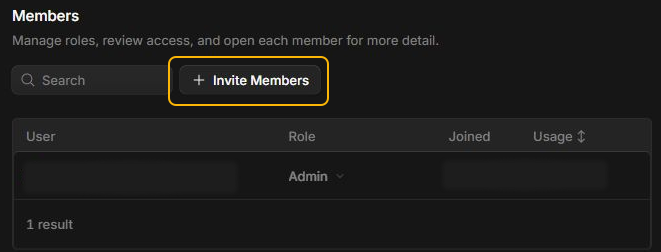
Use Settings > Members to review who has access. Open a member row if you need to inspect their details.
Invite a colleague
-
As a workspace admin, open Settings > Members and select Invite Members.
-
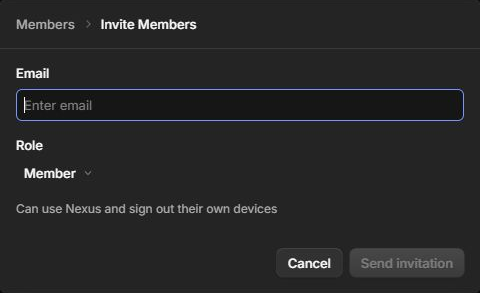
Enter the person’s work email under Email and select a Role.
-
Check the address and role. Select Send invitation when ready.
The person uses the invitation to join the workspace. See Create your account for the invited person’s steps.
Review a member’s role
| Role | Access |
|---|---|
| Member | Use the workspace and sign out their own devices. |
| Admin | Manage workspace models, members, and billing. |
Check the role shown in Members before making a change. Give admin access to people responsible for those workspace settings.
To set limits for a team or workspace, see Manage model access and budgets.