

Use Overview to see how much credit is available and how much work the selected time range includes. Use Logs when you need to find a particular request.
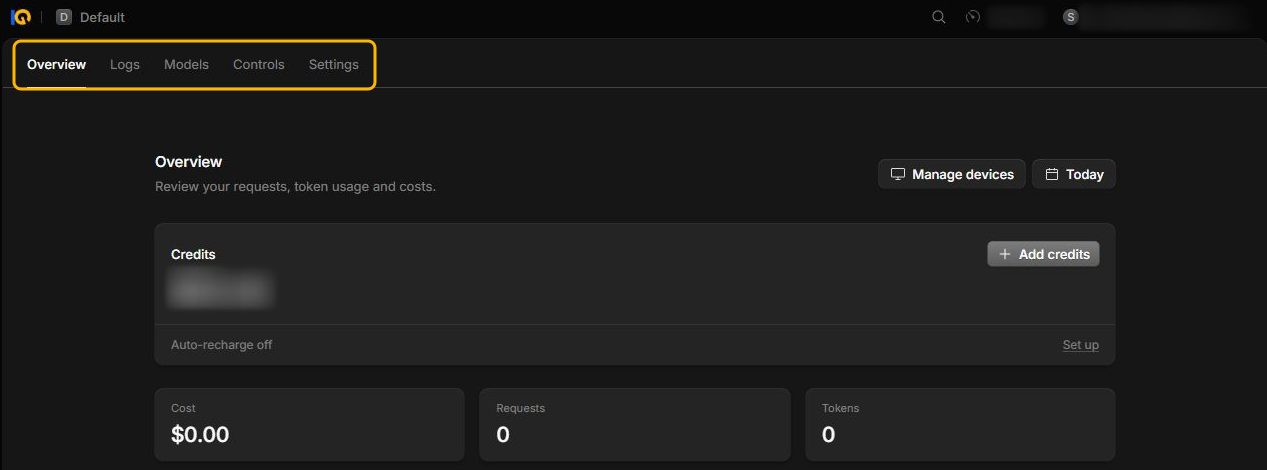
Check the credit balance
-
Open your workspace in the Console and select Overview.
-
Find Credits. Read the amount available and the status of auto-recharge.

-
If you need more credit, follow Buy credits or contact the person who manages billing for your enterprise workspace.
The credit balance is what is available for future use. Cost in the usage summary is what the displayed requests cost during the chosen time range.
Check usage for a time range
-
On Overview, open the time-range control. Choose a period that includes your research task.
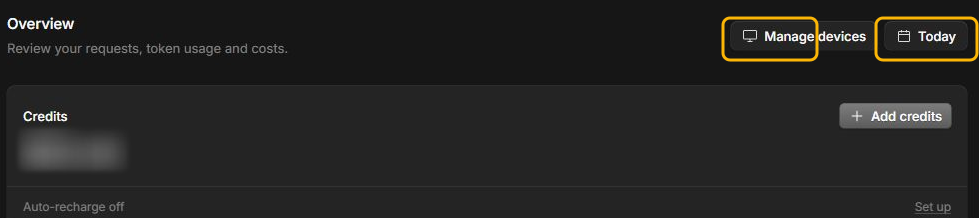
-
Review Cost, Requests, and Tokens. Tokens are pieces of text a model counts when it reads or replies to a request.
-
Use Usage by Project, Usage by Model, or Usage by User, when available, to narrow down where the usage came from.
If a section shows no usage, check the date range and selected workspace. The desktop app might be signed in to a different workspace.
Find an individual request
-
Select Logs and set a time range.
-
Select Filter. Choose a status, model, project, or member if it appears among the available filters.
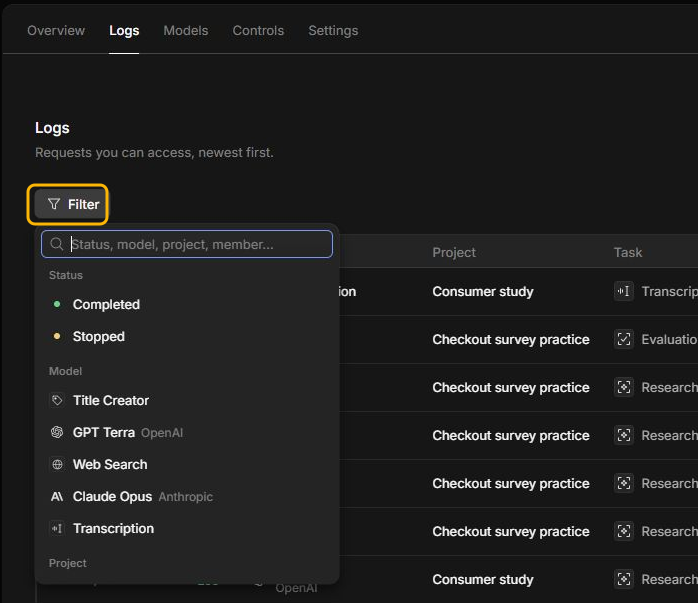
-
Match the request using its time, project, and task. Check the model, status, and cost for that row.
A session can include several requests. Use the project’s name and a range that covers the whole session when you review its total.