

Create an InsightGig account to access the Console, the website for your account and credits. A workspace holds your access and credits. If you work with a team, you can share a workspace.
Choose where to start
Sign up directly
If you are signing up on your own, follow an InsightGig sign-up link, such as one on our website. You do not need an invitation.
Use an enterprise invitation
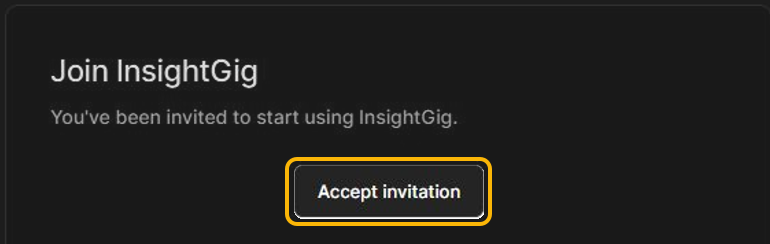
If your organisation invited you to an enterprise workspace, open the invitation email. Check the workspace name and the expiry date beside Open until. Select Accept invitation to start.
The screenshot shows the button in an InsightGig invitation. Your enterprise invitation also names the workspace you are joining.
If the invitation is missing, check your spam folder or ask the person who invited you for a new one.
Choose a sign-up method
On the InsightGig sign-in screen, choose how you want to sign up. Use an account or email address you can access again when you connect the desktop app.
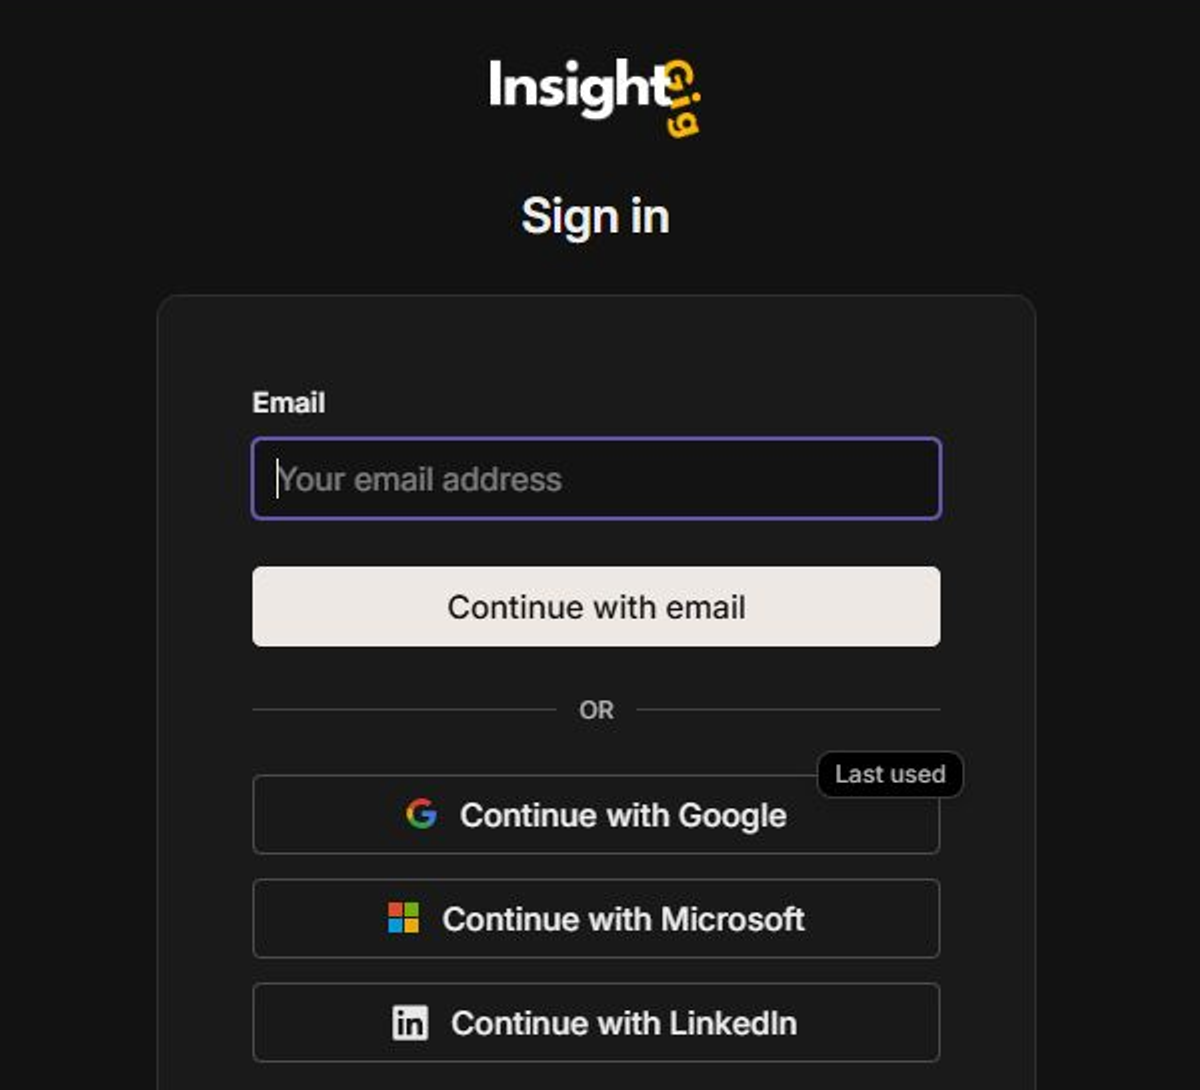
| Option | What to expect |
|---|---|
| Continue with email | Use your email address to sign up without another service. Open your inbox in case InsightGig asks you to verify the address. |
| Continue with Google | Use an existing Google account. Choose the account and review what Google shares with InsightGig. |
| Continue with Microsoft | Use an existing Microsoft account, such as the one you use at work. Follow Microsoft’s sign-in prompts. |
| Continue with LinkedIn | Use your LinkedIn account. Follow LinkedIn’s prompts to sign in and return to InsightGig. |
Follow the Google example
The example uses Google sign-in. With email, Microsoft, or LinkedIn, follow the prompts for the method you chose, then check that you reach the Console.
-
Select Continue with Google.
-
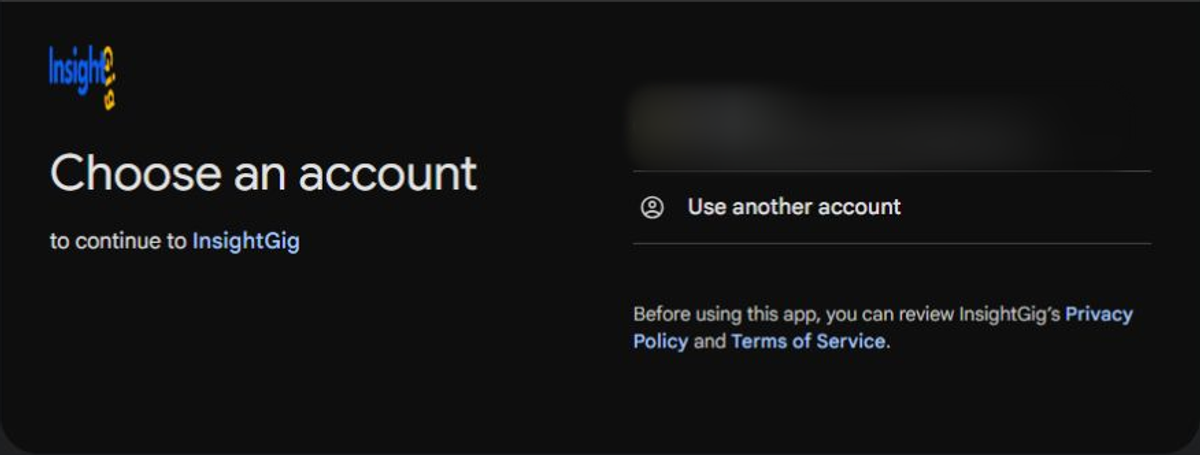
Select your Google account.
-
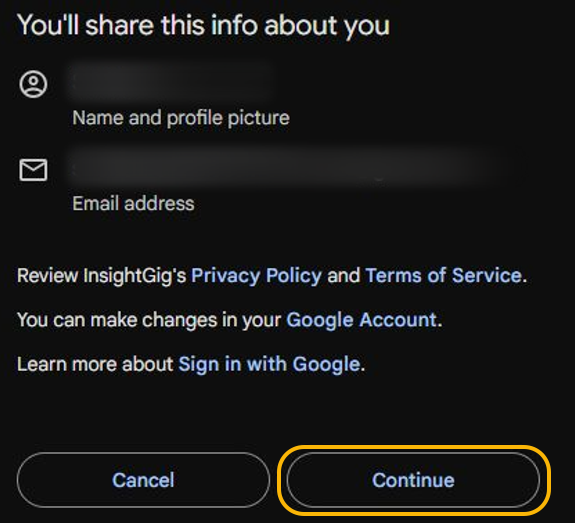
Review the information Google will share with InsightGig. Select Continue to finish signing in.
Check that you reached the Console
The Console opens after sign-in. Check the workspace name beside the InsightGig logo. If you joined an organisation and the name is not what you expected, contact the person who invited you.
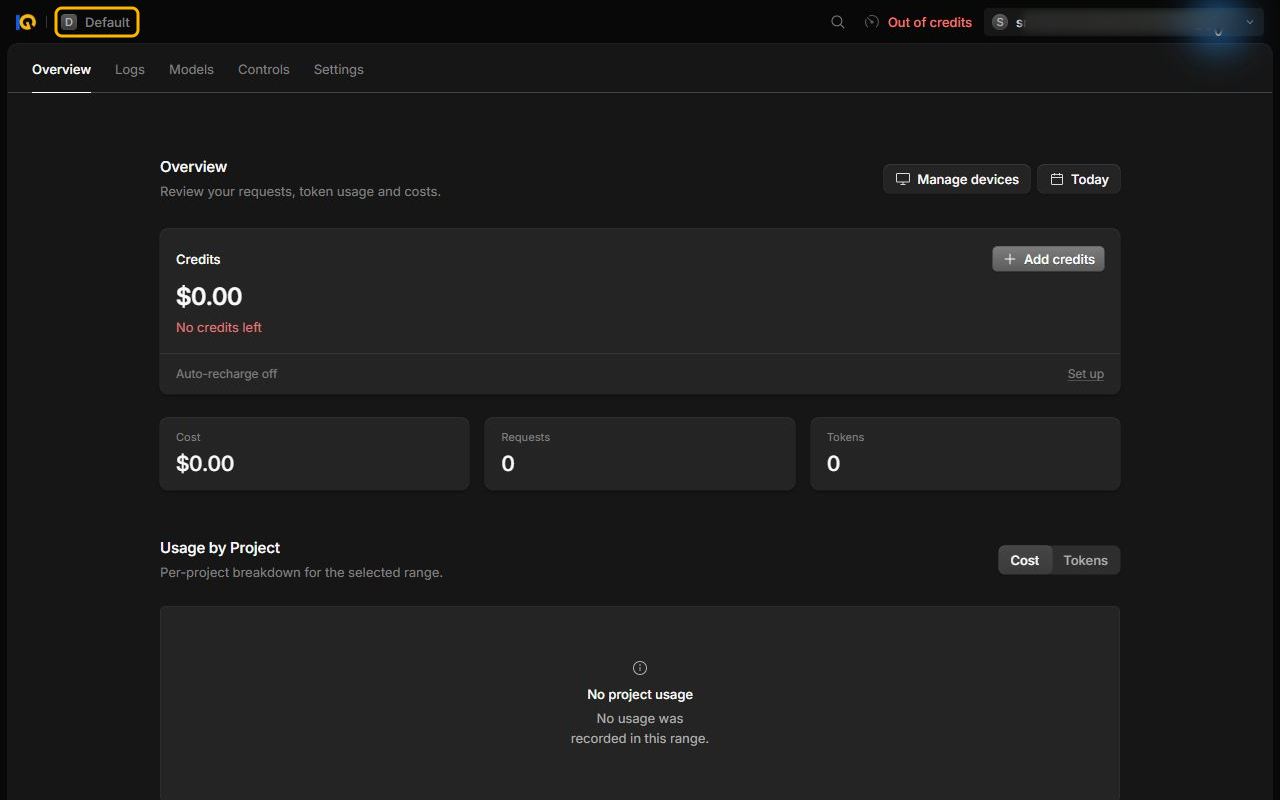
If you sign up on your own, the Console creates a workspace named Default and gives you the Admin role. Bookmark its Overview page so you can return to it from your browser.
Check your credits
In the Console, look at the balance under Credits before sending a request in the desktop app.
If you are signing up on your own and need to top up your balance, follow Buy credits. You can pay by card through Stripe when card billing is available in your workspace.
If your organisation arranged for InsightGig to add credits, let your contact know your account is ready. You can install the app while you wait.
Next steps
Continue with Install InsightGig. You can connect the desktop app to your account after installation.