

Set up project history before you revise study files in InsightGig. A checkpoint is a saved version of files that you can return to later.
On a typical Windows installation, InsightGig keeps checkpoints on your computer. If your team runs InsightGig on a separate computer, that computer stores them.
Choose what to save
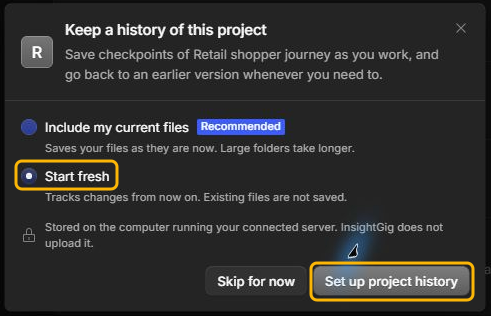
In Keep a history of this project, we recommend Include my current files for most studies. It saves a starting version you can restore after an edit.
| Choice | What it saves | When to choose it |
|---|---|---|
| Include my current files | Saves the files already in the study folder in the first checkpoint. | Use this before asking InsightGig to revise an existing questionnaire or findings note. The first checkpoint gives you a copy of what you started with. |
| Start fresh | Creates an empty first checkpoint. Later checkpoints can record files as you work. | Use this when starting an empty study folder or when you already keep the starting files elsewhere. The first checkpoint contains none of your existing files. |
| Skip for now | Leaves project history off. | Use this when you are only looking at files or want to choose later. Set up history before asking InsightGig to make edits you may want to undo. |
Folders with many files or large recordings can take longer to prepare. Checkpoints leave out temporary files and files excluded from project history.
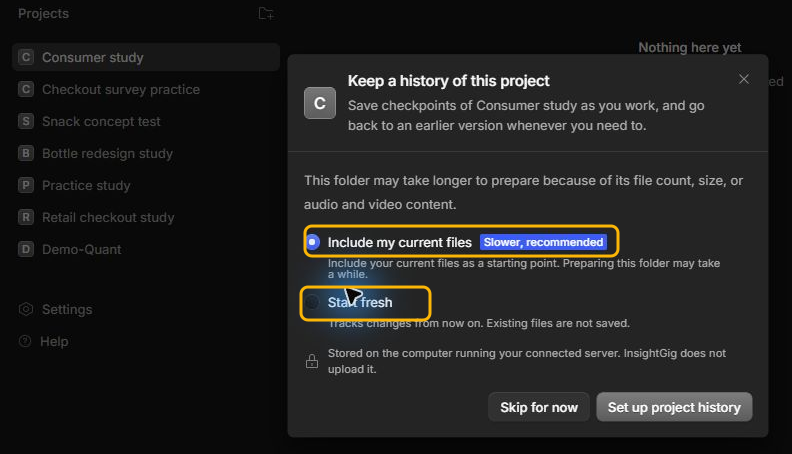
Set up history when you add a project
Use the fictional snack concept test files in Add and switch projects to try the setup with a brief and questionnaire already in the folder.
-
In InsightGig, open the folder you extracted using Add and switch projects. Stop at the Keep a history of this project dialog.
-
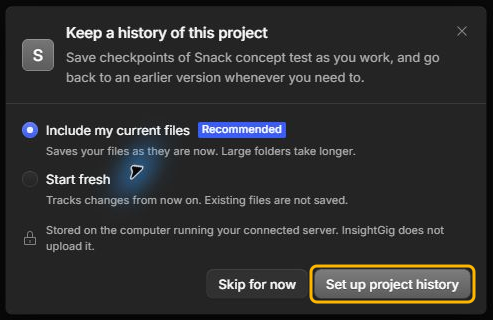
In Keep a history of this project, select Include my current files or Start fresh. The snack concept test example keeps the original study brief and questionnaire in the first checkpoint.
-
Select Set up project history and wait for the dialog to close.
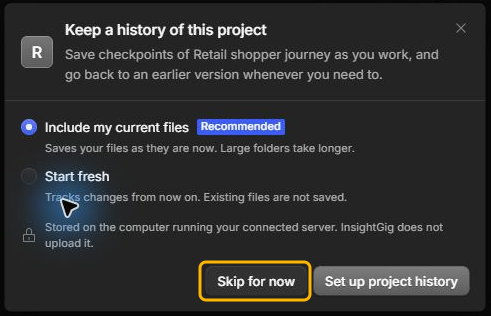
To finish adding the project and decide later, select Skip for now.
Set up history for an existing project
Open the settings for a project you have already added. For the example, extract a separate copy of the retail checkout practice files into Retail shopper journey.
Follow Add and switch projects to add it. Select Skip for now when the history dialog appears, then use either path below.
From Home
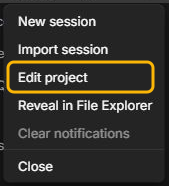
In Home, right-click the study name in Projects and select Edit project.
From Settings
In Home, select Settings > Projects, then select the study. In the example, select Retail shopper journey.

Start saving checkpoints
-
In the study’s General settings, find Project history and select Set up.

-
Choose Include my current files or Start fresh, then select Set up project history. The shopper journey example uses Start fresh to start with an empty checkpoint.
Check that history is on
In the project’s General settings, read the message under Project history. Look for Project history is on.

Remove project history
-
Under Project history in the project’s General settings, select Delete history.
-
Read the confirmation. Select Delete history to remove the checkpoints, or Cancel to keep them.
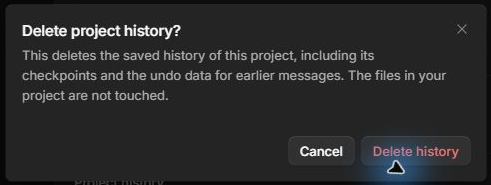
After you confirm, the Project history row offers Set up again.
Next steps
Use Find and preview project files to check the study files before a revision. See Recover file changes to restore an earlier version after a request.