

Workspace admins use Controls to decide who can use certain models or how much they can spend. Check the workspace name before opening it.
Choose the control that fits
| Control | Use it when |
|---|---|
| Reservation | Keep a model available to specific people. For example, reserve a model for the team reviewing long study reports. |
| Policy | Apply a rule to a group. For example, use a workspace tag to identify members whose model access you want to manage together. |
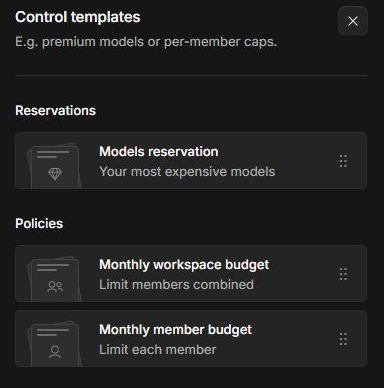
| Monthly workspace budget | Set one shared cap. Use this when several project teams draw on the same monthly research budget. |
| Monthly member budget | Set a separate cap per member. Use this when each analyst needs an individual limit within the workspace. |
Set a monthly workspace budget
Use a workspace budget when you want one monthly spending limit for the whole workspace. If you work on your own, it applies to the usage in that workspace.
- In the Console workspace, open Controls and select Monthly workspace budget under Control templates.
- Enter the amount under Monthly spend. For one cap on all usage, check that the summary says the entire workspace can spend that amount combined across all spend.
- Select Save. Return to Controls and check the amount and scope of the policy you saved.
Review a model restriction or budget
-
Open your workspace in the Console and select Controls. Use Add reservation to reserve a model. Use Add policy or a budget template to set limits.
-
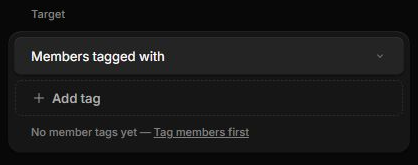
Check the Target. If you choose Members tagged with, select the tags that identify the intended group. A tag is a label the workspace uses to group members.
-
Review the models or budget for that target. For a monthly cap, check who shares the amount and when it resets.
-
Check the whole rule before selecting Save. Review the resulting entry in Controls.
If someone cannot find a model, check Controls and the catalog in Models. Then have them review Manage models in the desktop app. Follow Choose a model and thinking level.